NextDNS Part 2: Caching and the Unifi Dream Machine
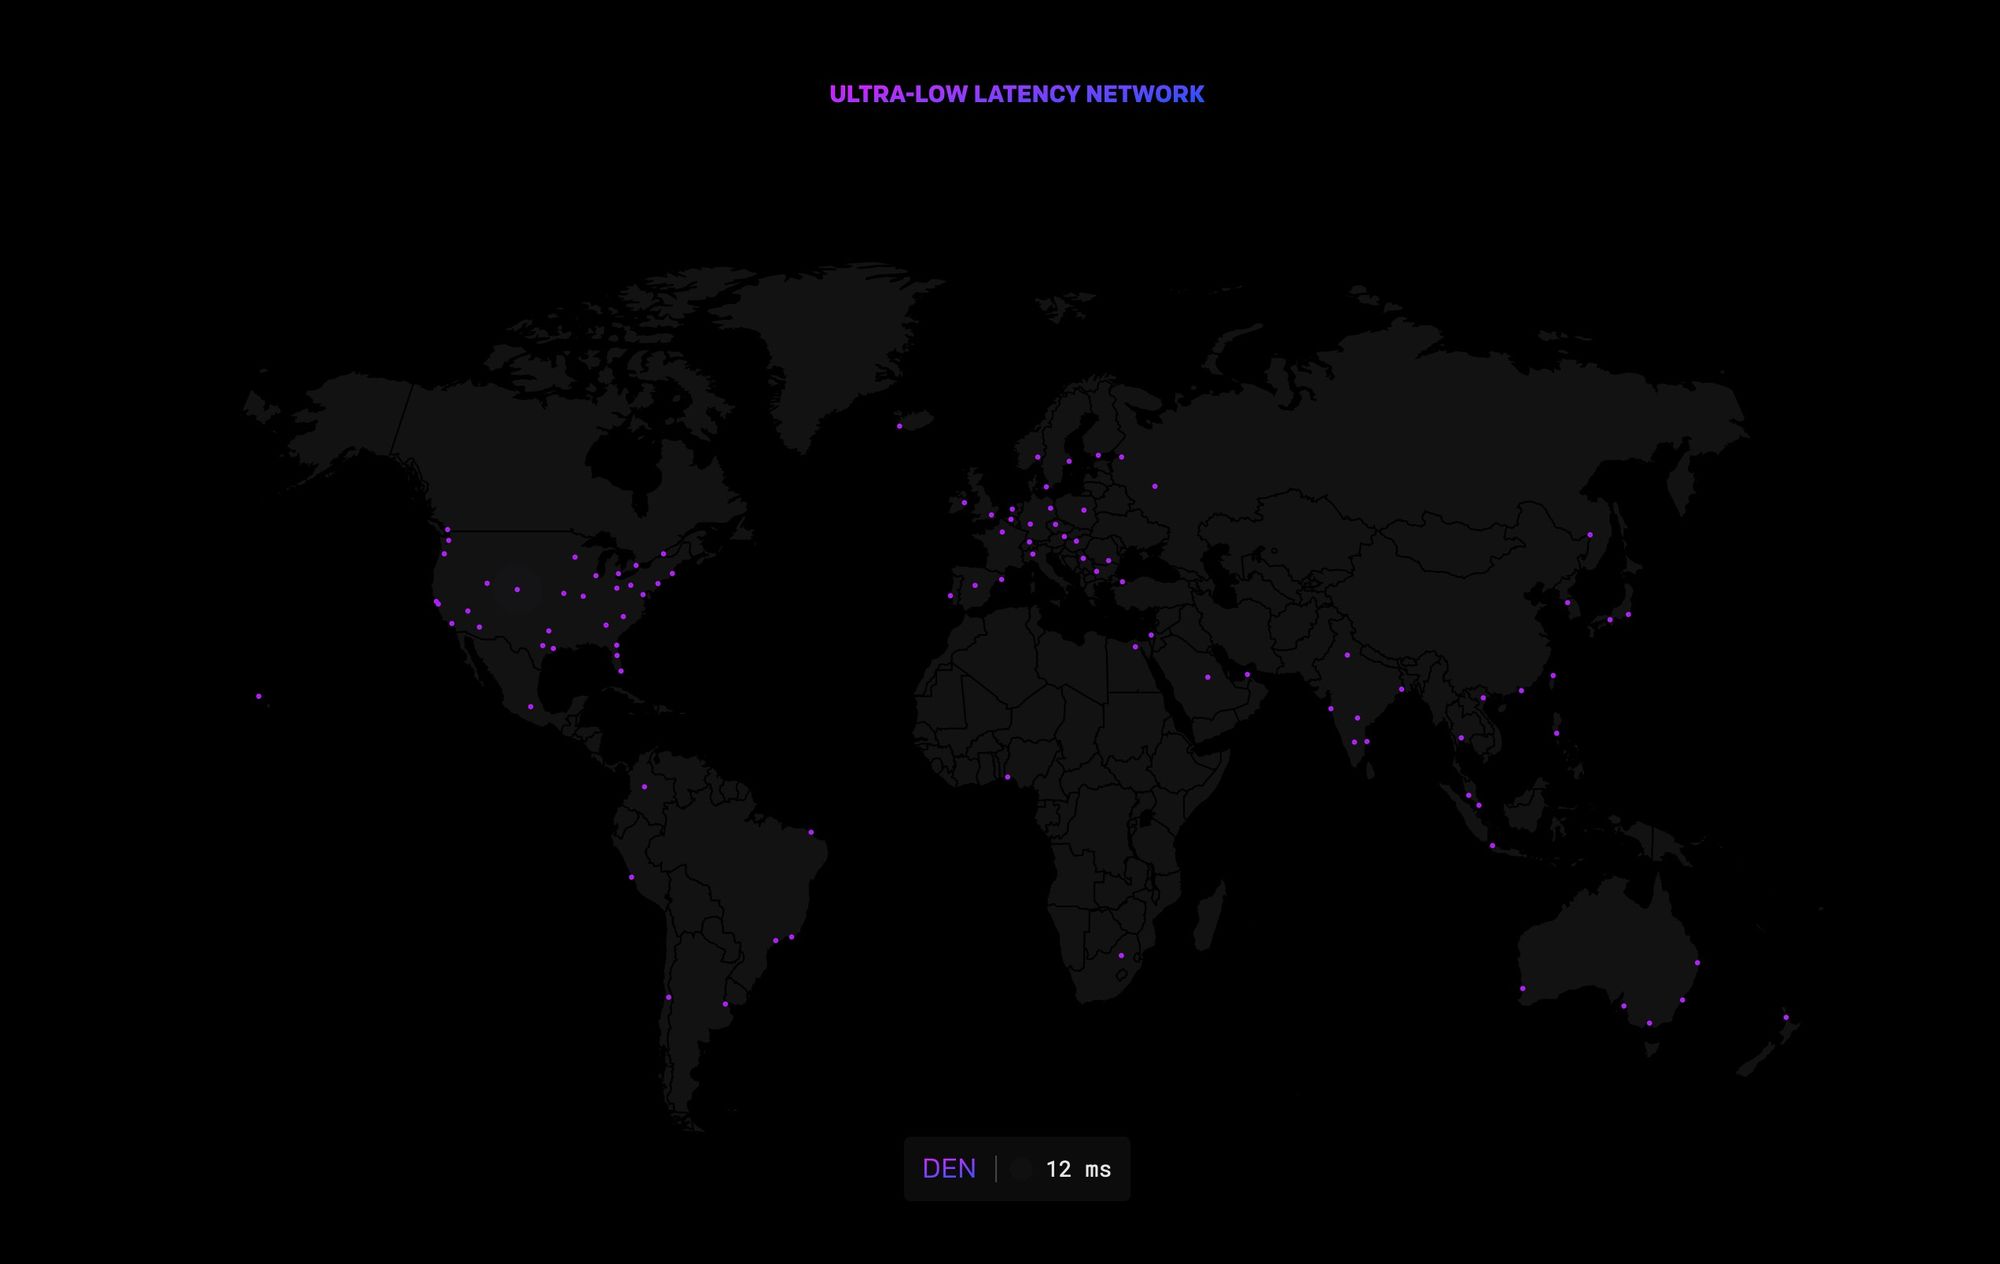
Last year, I wrote about replacing Pi-Hole with NextDNS on my home network. At the time, the NextDNS CLI was incompatible with the Unifi Dream Machine Pro and required an external server to handle the requests. I also mentioned that, due to the location of the closest NextDNS resolver, I was taking a slight hit on performance by switching from CloudFlare’s DNS.
A year later, and I’m glad to report that NextDNS has addressed both caveats and added additional performance enhancing features. I’m ecstatic with the results and NextDNS’s continued development.
Performance Improvements
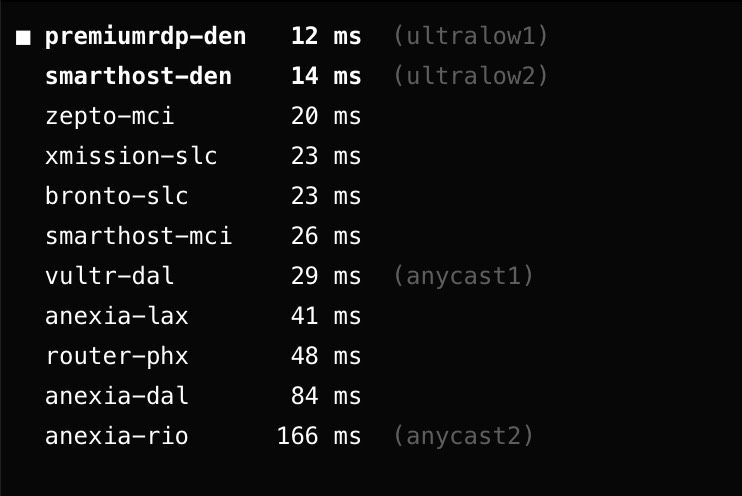
NextDNS has launched a number of points-of-presence (POPs) around the globe to help improve resolution performance, as well as the launch of ultra-low latency endpoints. For me, I’ve observed two new locations in Denver to resolve requests, cutting the response time in half (12ms vs 29ms when resolving to Dallas). NextDNS launched ping.nextdns.io to let users measure the latency to the various POPs and identify which locations they’re using.
Along with more points of presence, NextDNS added caching to the CLI/proxy. On my networking, the cached DNS record is served around 70% of the time, further speeding up DNS resolution. This new feature is enabled by updating the CLI to the latest version and running sudo nextdns config set -cache-size=10MB. In my experience, 10MB is plenty, and won’t strain the resource utilization of your server as the cache is held in memory. You can also see how well the cache is performing with nextdns cache-stats.
With these three performance improvements (new POPs, ultra-low latency endpoints, and local caching) I’ve observed a significant increase in performance when using NextDNS. The addition of tools like ping and the diagnostics CLI provide more ways to verify the configuration is optimized and performing as expected.
NextDNS on Unifi Dream Machine Pro
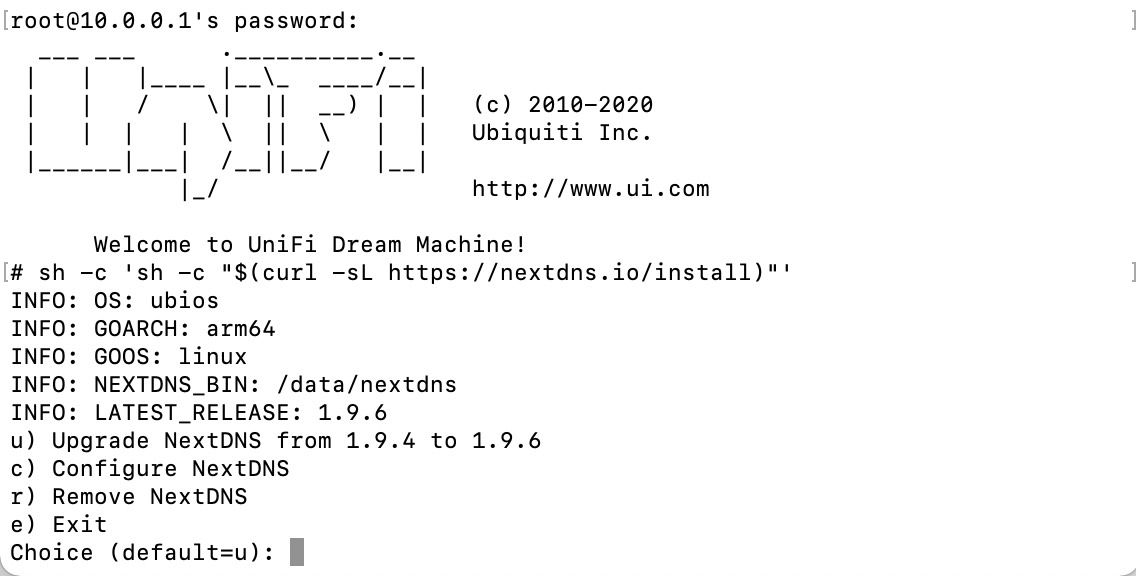
The NextDNS CLI was updated to support installation on the Unifi Dream Machine (UDM) and Dream Machine Pro (UDMP). This removed the requirement to run a Raspberry Pi or other local server to set up the NextDNS proxy if you’re using these newer Unifi gateways. Installation is as straightforward as it gets. I’ve run this configuration for over three months with no disruptions.
To configure NextDNS on a UDMP:
- Enable SSH access to the gateway from the configuration page.
- SSH into the UDMP and run:
sh -c 'sh -c "$(curl -sL https://nextdns.io/install)"'. NextDNS has published a wiki on this process as well. - If you’ve previously configured DNS settings for the network in the UDMP, remove the settings and restore to default.
- That’s it! You’re all set.
In my experience, the settings persist through reboots and firmware upgrades, and the process is stable. Updating is a breeze as well by simply re-running the installation command and selecting upgrade from the options. This config has replaced my Raspberry Pi’s for DNS resolution in my home.
Overall, NextDNS continues to impress, and has justified a paid DNS service for our family.

Comments ()